
Kickin' It In The Kitchen
- May 29, 2016
- 3 min read
So what is a kulinarily inclined kouple to do when they downsize to a small RV kitchen? Well, first off you shop for an RV that has either a residential sized refrigerator or the biggest RV style refrigerator you can find and a full pantry. After all, you gotta have room for your groceries, right?

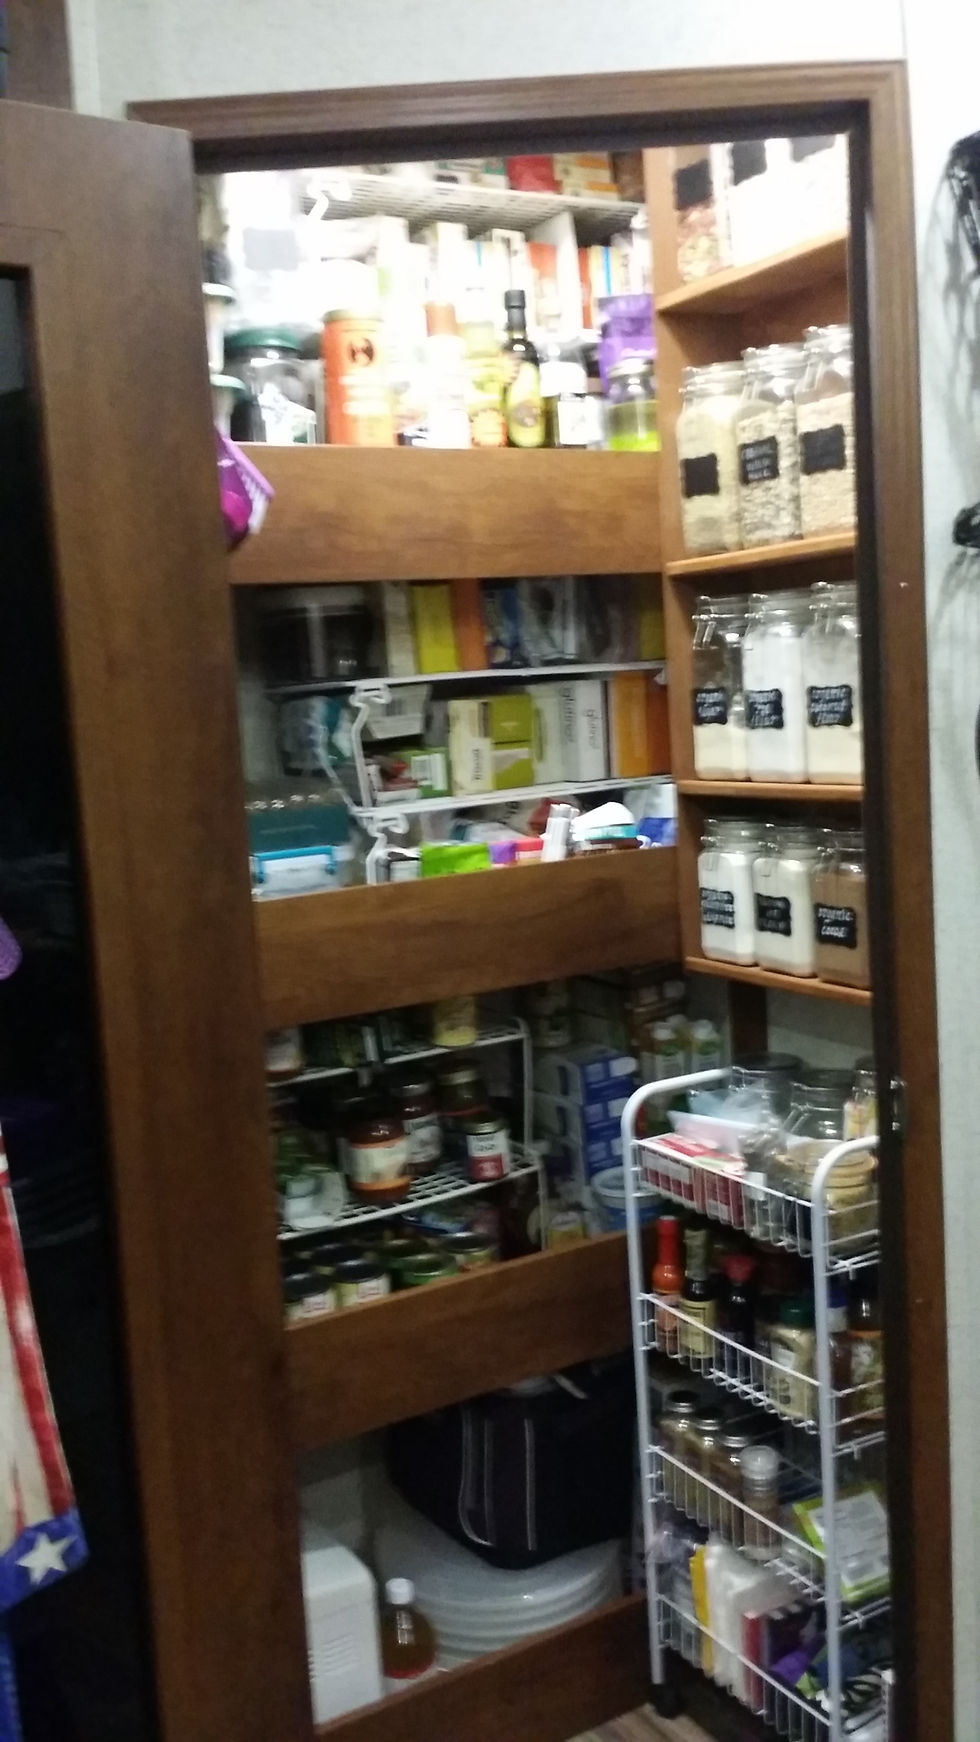
When we were shopping for our new RV to hit the road full time, we had a list of requirements that we were not willing to compromise on. One of those was our kitchen. We wanted a good sized pantry, and a residential sized refrigerator. Unfortunately, the RV's that had residential sized fridges were pretty pricey, and we were unable to find one in our price range. But we did find an RV that had a rear kitchen, with a walk in pantry, and TWO of the biggest RV refrigerators! SCORE! So we had great bones, and then we set about tweaking it.
Matt grew up with a Union carpenter father who built half of Ft. Lauderdale. Fortunately for me, Dad taught Matt all about wood-working. He even has a lot of Dad's old tools (mostly in storage now, but we still have them). Matt also worked in wood-working for several years, repairing and refinishing furniture. I tasked him with the job of building me shelves for my canisters and spice jars. We cook with all natural, organic ingredients, as well as keeping gluten free. Often times these ingredients are best bought in bulk, so there's a little different storage challenges involved.


These are my spice racks, which Matt built into the cabinet door next to the stove. Apart from the top shelf on each, the jars fit pretty snugly on the shelves so I'm not worried about them falling during travel. I may have to put a rubber liner under the ones on the top shelves, but we'll see.
He had to use small L-brackets to attach them. You can see them sticking out on the sides because he had to install them over the thicker outer portion of the cabinet door, rather than the thinner veneer in the center. I'm going to buy some bronze spray paint and just make them match the rest of the hardware. I figure it you can't beat 'em, join 'em. LOL
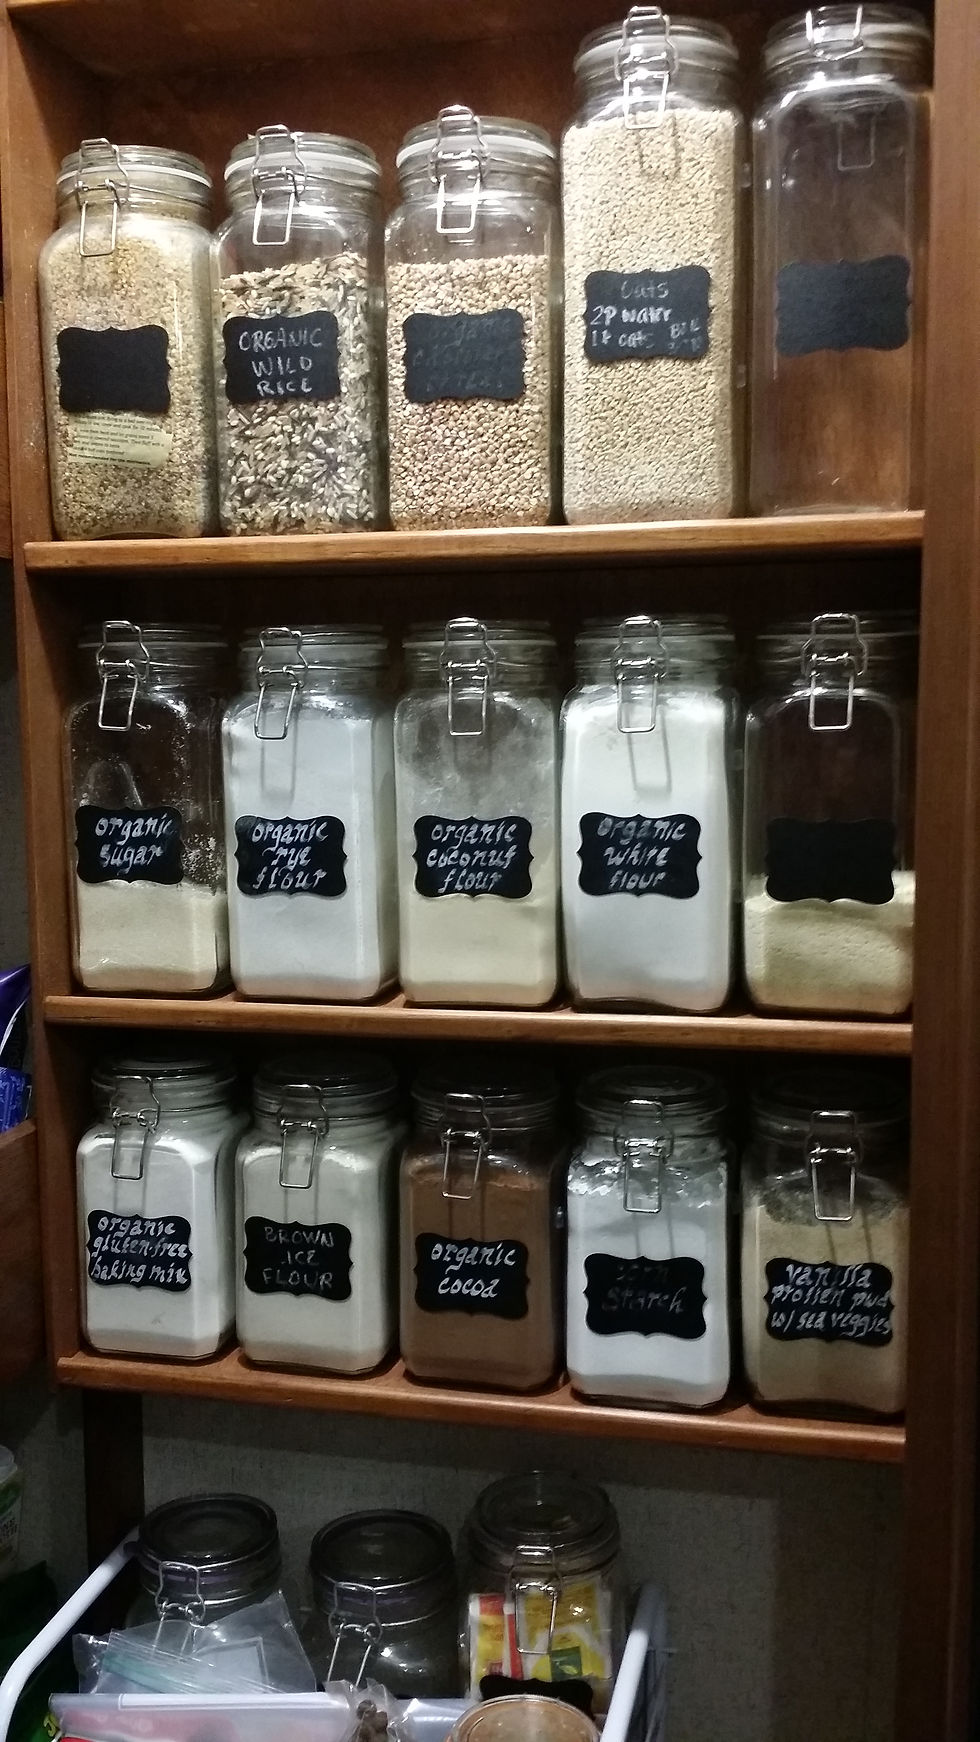
And this is my canister shelf! Isn't it yummy? He did a great job on both, even getting pretty damned close in matching the color of the wood already in the RV. The installation of this shelf was a little more difficult. He had the space constraints of what was available on the wall, while trying to fit 5 canisters across. What resulted was a shelf that didn't want to fit thru the door opening. LOL We ended up having to remove the doorway pieces to fit it in.
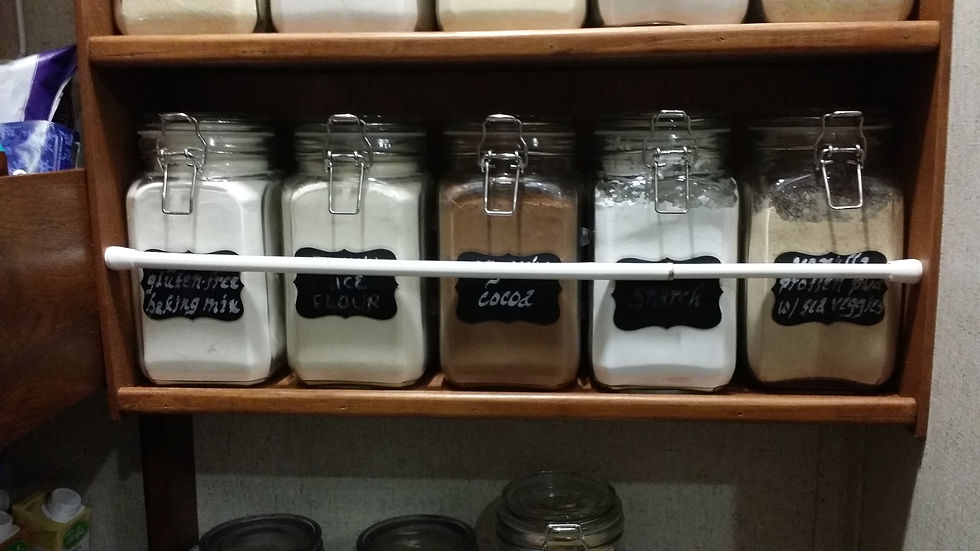
I know what you're thinking - Uh, Dana, that's a whole lotta glass that's going to be broken all over your floor the first time you roll the Rollie House. Nope, got it covered! We've got tension bars that we will place across each shelf before rolling. ;-) Cause we're slick that way.

And what about the canisters banging against each other?
Why, Rubber Baby Buggie Bumpers, of course!
We've also got some corplast that we are cutting to fit in place on the big shelves, so that everything is braced on the shelves while we're Rolling. I'll add the pics of that once we get the corplast cut. And if you haven't ever heard of corplast, it's corrugated plastic - you know, the stuff lawn signs are made out of. Nice and sturdy, but light weight!
So now the pantry is pretty well SET! I'll share what wonderful culinary concoctions we create later! Cause first, I have to tackle the refrigerators.......
Comments